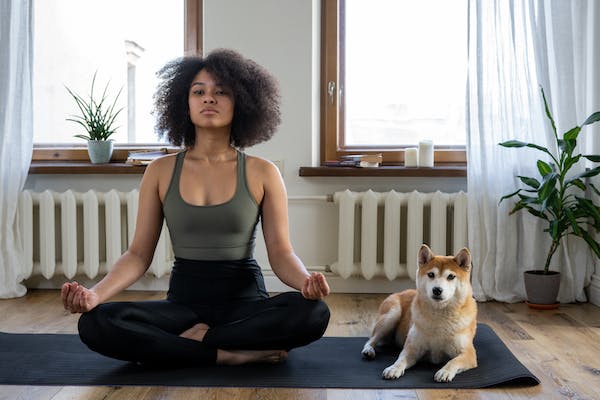
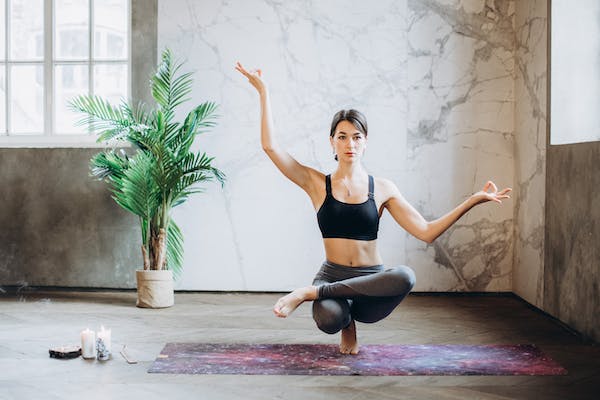
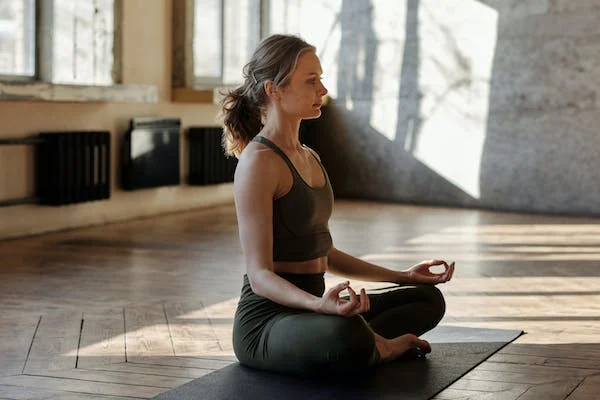
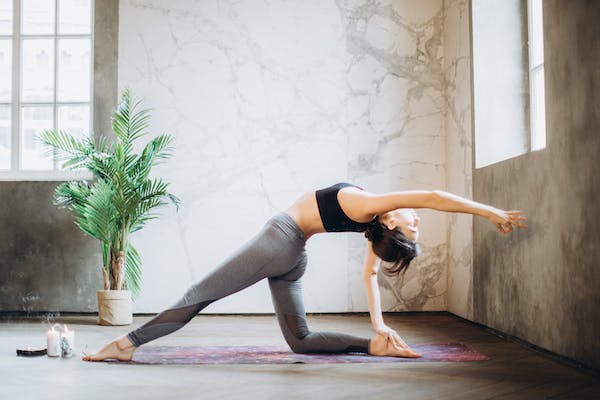
7 Yoga pose

Anytime! At home! At Work!

(AAA)

1. Mountain Pose (Tadasana)

Also known as "The mother of yoga poses" it looks easy. This two-footed stance is the foundation for many other positions that require awareness and balance. It is through this pose that one finds the proper alignment and shape for additional movements

How to Do It:

  1. With feet together and arms at your side.
  2. Ground your feet, making sure to press all four corners down into the ground.
  3. Next, straighten your legs, then tuck your tailbone in as you engage your thigh muscles.
  4. As you inhale, elongate through your torso and extend your arms up, then out.
  5. Exhale and release your shoulder blades away from your head, toward the back of your waist as you release arms back to your sides.

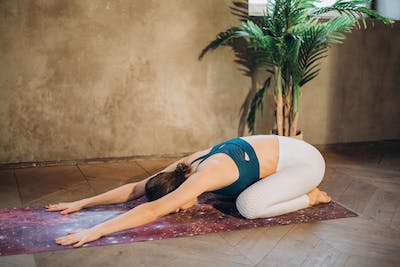
2. Child’s Pose (Balasana)

Consider this exercise your reset moment. Simple in design, this easy pose relaxes your nervous system and is a great place to take a breather during class if you need one. Got knee problems? Make sure to lower into this position with extra care.

How to Do It:

  1. Start in a kneeling position with toes tucked under.
  2. Lower your butt towards your feet as you stretch your upper body forward and down with arms extended.
  3. Your stomach should be comfortably resting on thighs, with your forehead touching the mat.
  4. Hold until you can and repeat as needed

3. Cat/Cow Pose (Marjaryasana to Bitilasana)

Cat/cow is a great way to warm up your back, explains Ingber, and get your body ready for downward-facing dog. It also helps address mobility (hello, desk jobs) and work your core without the extra stress on your wrists and shoulders that you might feel in a down dog move.

How to Do It:

  1. Begin with hands and knees on the floor, spine neutral and abs engaged.
  2. Take a big inhale, then, as you exhale, round your spine up towards the ceiling and tuck your chin towards your chest, releasing your neck.
  3. On the next inhale, arch your back and relax your abs.
  4. Lift your head and tailbone upwards, being careful not to place any pressure on your neck by moving too quickly or deeply.

4. Corpse Pose (Shavasana)

Lying around may seem pointless, but this is one of the most meditative moments in any yoga practice. Corpse pose calms the mind, relieves stress and induces a relaxed state. (Why do you think yogis are so chill?)

How to Do It:

  1. Lie down on your back and let your feet fall to their sides.
  2. Bring your arms alongside your torso, but slightly separated with palms facing the sky.
  3. Relax the entire body — your face included. Usually the final pose in a class, you’ll stay in this pose anywhere from 30 seconds to five or 10 minutes.

5. Warrior I (Virabhadrasana I)

The first in the Warrior series, this pose strengthens your legs and opens your hips and chest, while also stretching your arms and legs. While holding this exercise, you’ll see an increase in your concentration and balance — both essential qualities to carry through a yoga practice.

How to Do It:

  1. Start in mountain pose.
  2. As you exhale, step your left foot back about four feet, so you’re in a lunge position with the right ankle over the right knee.
  3. Raise your arms straight overhead, biceps by ears, and turn your left foot about 90 degrees to face the left wall.
  4. Align your left heel perpendicular with your right heel.
  5. Expand your chest and pull your shoulders back, then lower down toward the floor as you lift your arms up.
  6. Make sure your hips stay square to the front, as you continue to breathe.

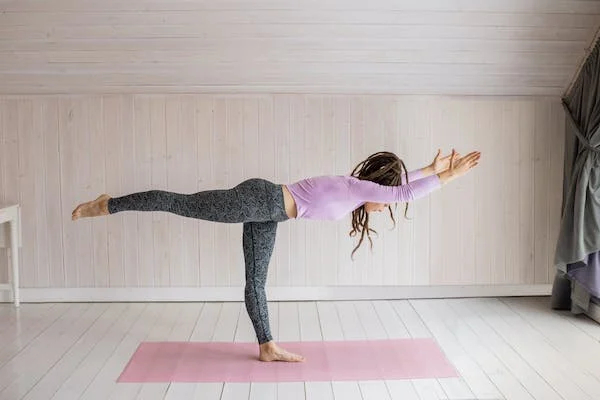
6. Warrior II (Virabhadrasana II)

Similar to Warrior I, Warrior II offers just a slight variation, with your upper body rotated to the side instead of facing forward. You’ll still reap the same quad-strengthening benefits of Warrior I, but you’ll also open up your hip flexor muscles for greater flexibility.

How to Do It:

  1. Begin in mountain pose. Exhale and step your left foot back about four feet, making sure the heels are in line.
  2. Turn your back foot 90 degrees so that it’s now perpendicular with the front one.
  3. Raise your arms to shoulder height, parallel to floor, with your right arm in front of you, and left arm behind
  4. Bend your front knee so it’s directly over ankle and sink hips low until the front thigh is parallel to floor.
  5. Look straight ahead, eyes in line with your front-facing arm.

7. Downward-Facing Dog (Adho Mukha Svanansana)

One of the most recognizable poses of the bunch, down dog is a great way to stretch your back, shoulders, arms, hamstrings and well, just about everything. And it gets you calm and centered, too.

How to Do It:

  1. Come onto hands and knees with palms just past your shoulder, fingers pointing forwards.
  2. Knees should be under your hips and toes tucked.
  3. Lift your hips and press back into a V-shape position with your body.
  4. Feet should be hip-width apart. Keep in mind, it’s OK if you can’t get your feet to the floor (your hamstrings might be too tight).
  5. Spread through all 10 fingers and toes and move your chest towards your legs.

7 Strength Training

Don't roll your eyes!

Wall push-up "Endless"

The wall push-up is an effective variation on the military-esque traditional push-up — which is an advanced movement. Similar in execution to the standard push-up, the wall push-up involves shifting your hands from the floor to — you guessed it! — the wall. “By elevating your hand, you decrease the amount of gravity pressing down against you, which makes the movement easier,” says Luciani.

How to Do It:

  1. Stand an arm’s length away from the wall.
  2. Lean forward, planting both palms on the wall so they’re shoulder-width apart.
  3. Think about spreading the wall with your fingers to activate your triceps and lats properly position your elbows.
  4. Simultaneously squeeze your midline, quads, and glutes.
  5. Shoot elbows straight behind you as you lower until your forehead kisses the wall.
  6. Press away.

There are various variation of normal if you're a beginner you can start with wall push-ups or knee push-ups, male and female can do normal push-ups and advance push ups.

2. Superhuman

Known as the Superman before the ~gender revolution~, the superhuman is a super-duper pulling exercise. It’s i-n-c-r-e-d-i-b-l-y important to do some pulling exercises in your workout routine. Most of our day-to-day to-dos, like camping out on the computer and lounging on the lounger, neglect our pulling muscles (back, forearms, traps), which increases the risk of muscle imbalances and, eventually, injury.

How to Do It:

  1. Lie facedown with arms stretched wide overhead.
  2. Lift arms, legs, upper back, and head off the floor. (Your body should resemble a fat U.)
  3. Hold this position 10 seconds 10 repeats

For more of a challenge, try adding some motion with your arms. Keeping your chest lifted, shoot your elbows straight back and squeeze your lats together to form a W with your arms and head” says Luciani. Hold here for 2 seconds before extending your arms. Then repeat.

3. Reverse lunge

This bodyweight move is (almost) as much fun as it sounds. This is one creepy-crawly exercise that will have you feeling like a little kid again while building your triceps, shoulders, chest, abs, glutes, and quads.

How to Do It:

  1. Stand and lock in your belly.
  2. Take a big enough step back..
  3. Bend both your front and your back knee to a 90-degree angle.
  4. Step feet back together.
  5. Repeat the movement on the other side.
  6. Continue alternating legs for 45 seconds. Do 4 sets, resting for 15 seconds after each set, Watkins recommends.

4. Split squat

splitsquatter

Mastered the reverse lunge? Congrats! Time to advance to the split squat, the reverse lunge’s feistier cousin. Split squats work the same muscles as lunges (quads, glutes, calves, core, hamstrings). But because split squats require getting into a lunge position and moving within that position (unlike reverse lunges, which involve dynamically moving into and out of the position), they work the muscles to a greater range of motion. There are a few variations of the split squat, we recommends starting with the equipment-free bodyweight version.

How to Do It:

  1. Stand with feet under hips.
  2. Take a big step back and descend until front and back knees are both bent at a 90-degree angle.
  3. Keeping your feet where they are, straighten both legs.
  4. Repeat this movement for 12–16 reps.
  5. Switch lead legs and do the same thing on the other side.

5. Squat (Explosives)

Squats are popular with weightlifters, which can lead to the misperception that they can be done only with weights. But even squatting with your bodyweight alone can give you strong leg muscles if you do it with good form.

How to Do It:

  1. Stand with feet slightly wider than shoulder width.
  2. Extend arms straight with palms facing down.
  3. Inhale and push hips back slightly as you bend your knees. Look straight ahead and keep chin up, shoulders upright, andback straight.
  4. Squat as low as you comfortably can, aiming to have your hips sink below your knees. Engage your core to push upward explosively from your heels.
  5. Do 10 counts 3 sets

6. Hollow Hold

Quick: Picture a banana on a table. Got it? Great — you’ve basically got the gist of the hollow hold. But don’t let the fruit reference fool you. This movement gets spicy QUICK. It’s super good for strengthening your midsection.

Because you’re holding your muscles in a contracted position, there’s greater time under tension, which leads to greater muscle gains.

How to Do It:
  1. Lie faceup with legs extended and arms straight overhead.
  2. Press your lower back into the floor and raise arms and legs 6–12 inches off the floor.
  3. Chillax there for 30 seconds.
  4. Take a 15-second break before holding for another 30 seconds.
  5. Do 4 sets

7. Curl-Ups

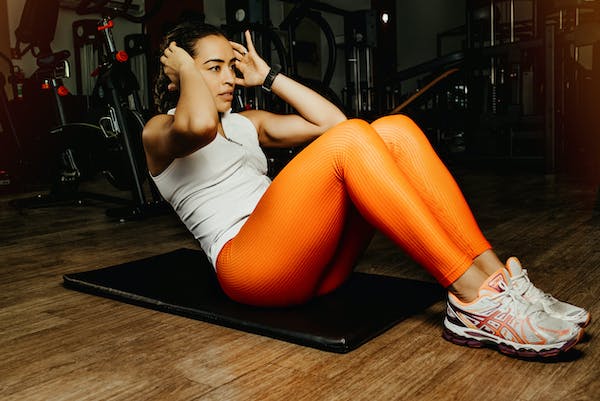
Do you want to put your abdominal strength to the test? The curl-up abdominal test is a great way to assess abdominal strength and endurance, and it requires little to no equipment.

This can also be done by anyone of any fitness level. So, if you want to try the test, this guide will explain what you need to know, specifically how to do a curl up with optimal form.

How to Do It: Here is a simple step-by-step guide for how to do the abdominal curl-up test. The curl-up test is not a timed test, but a test that involves performing repetitions in time with a metronome until muscular failure.
  1. Find a flat space and a comfortable mat to lie down on.
  2. Get into position, with the knees bent and the back flat on the floor.
  3. Start the metronome and perform the first abdominal curl.
  4. Keep performing a single abdominal curl in time with the metronome.
  5. Count each curl-up. The test ends when the abdominal curls can no longer be executed in time with the metronome.

7 Aerobics Training

Sweat up!

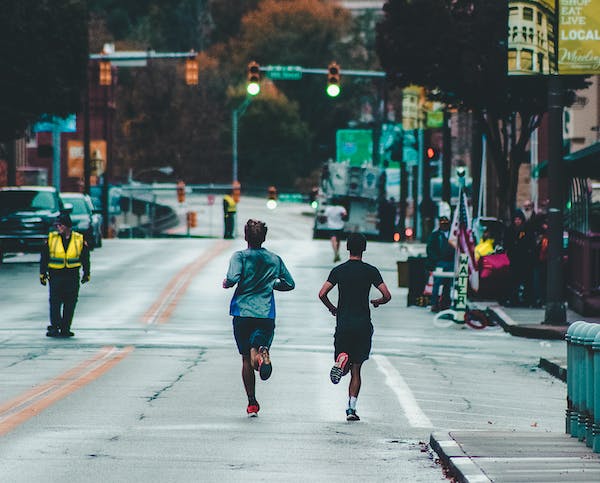
1. Jogging

If you want to elevate your jogging, it’s important to take a look at your jogging form and make any necessary adjustments and improvements. This will help reduce chance of injury, increase speed, and boost efficiency.

How to Do It:
  1. While jogging, maintain good posture, engage your core, and gaze forward
  2. Avoid tilting your head down and slumping your shoulders.
  3. Broaden your chest, and keep it lifted as you draw your shoulders down and back.
  4. Keep your hands loose, and use a relaxed arm swing. Avoid crossing your arms in front of your body.
  5. To prevent injuries to your lower body, use a midfoot strike, and avoid hitting the ground with your heel.
  6. This allows your foot to land directly under your hip as you drive your body forward. A heel strike may cause your leg to slow down your stride and stress your knees.

2. High Knees

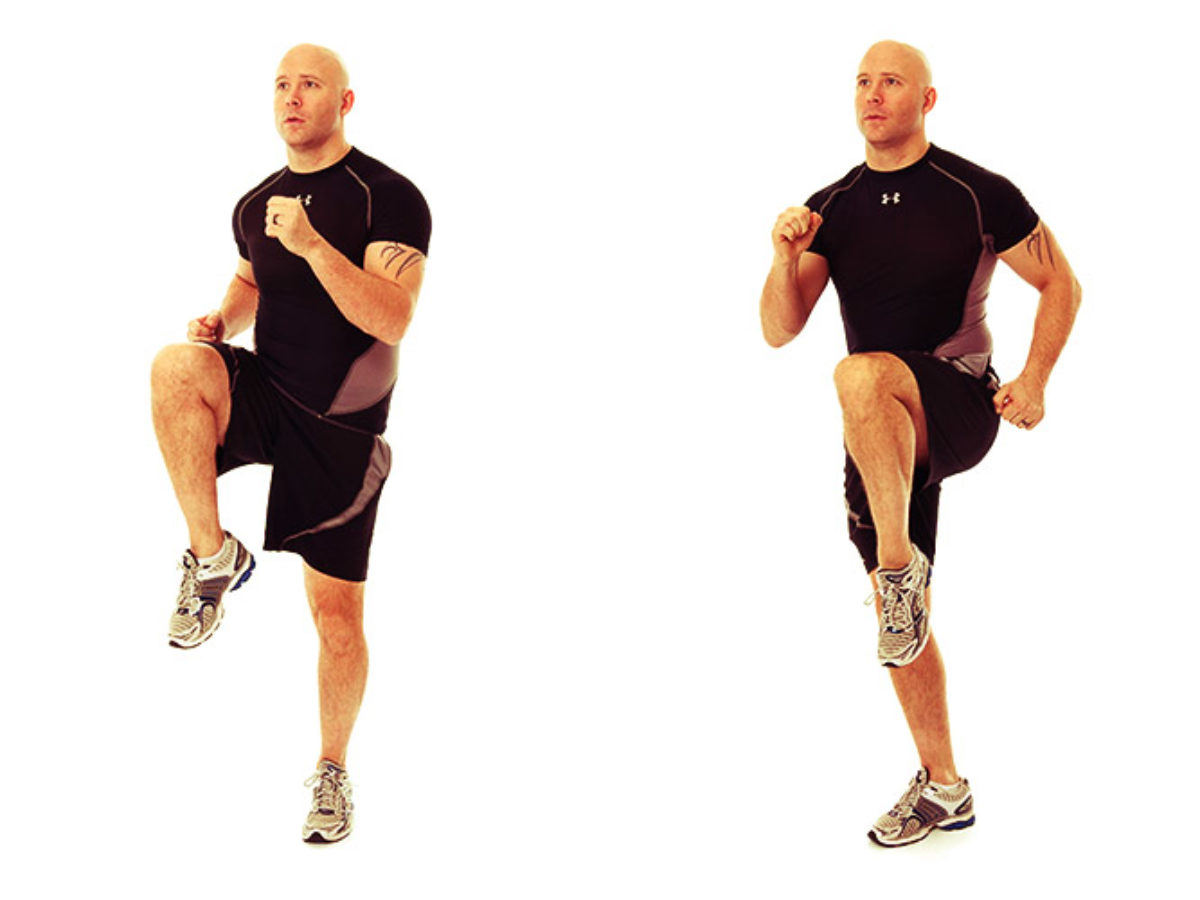
High Knees are a cardio-intensive exercise performed at a fast pace. It engages your core, strengthens all the muscles in your legs, gets your heart rate up and improves momentum, coordination and flexibility. Because of the many physical benefits, high-knees are incorporated into a wide variety of workouts. They’re also relatively easy exercises to perform because they can be practiced anywhere — no gym or equipment required.

How to Do It:
  1. Stand with your feet hip-width apart. Lift up your left knee to your chest.
  2. Switch to lift your right knee to your chest. Continue the movement, alternating legs and moving at a sprinting or running pace.
  3. Take it slow if it’s your first time trying high knees. As a modification, march in place, slowly lifting one knee to your chest and switching for the other knee
  4. This will help you understand the motion without placing too much pressure on your muscles and cardiovascular system.

3. Mountain Climbers

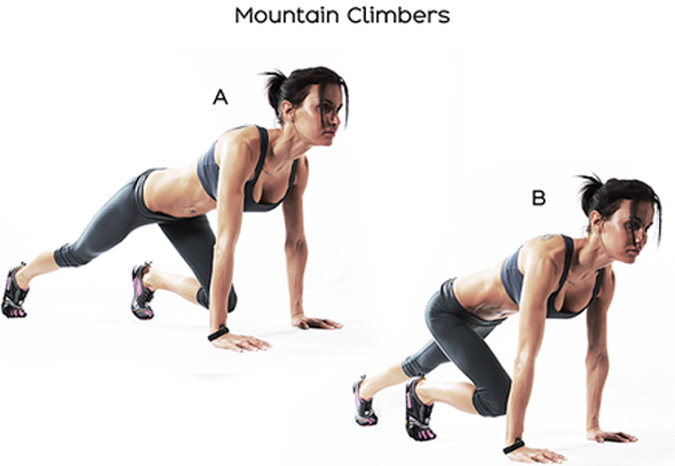
Also known as Running planks. Climbing a mountain would be a daunting workout to most, but what if the mountain is the floor? That's the concept behind mountain climbers. Performed from a plank position, you'll alternate bringing one knee to your chest, then back out again, speeding up each time until you're "running" against the floor.

How to Do It:

  1. Get into a plank position, making sure to distribute your weight evenly between your hands and your toes.
  2. Check your form—your hands should be about shoulder-width apart, back flat, abs engaged, and head in alignment.
  3. Pull your right knee into your chest as far as you can.
  4. Switch legs, pulling one knee out and bringing the other knee in.
  5. Keep your hips down and run your knees in and out as far and as fast as you can. Alternate inhaling and exhaling with each leg change.

4. Jumping Jacks

Jumping jacks are a great full body exercise that enhances aerobic fitness, strengthens the body, and promotes relaxation. This exercise also improves muscle endurance, increases the body’s metabolic rate, and helps with weight loss.

How to Do It:
  1. Stand straight with your feet together and hands by your sides.
  2. Jump up, spread your feet and bring both hands together above your head.
  3. Jump again and return to the starting position.
  4. Repeat until the set is complete.
  5. Do 15 repeats 3 sets

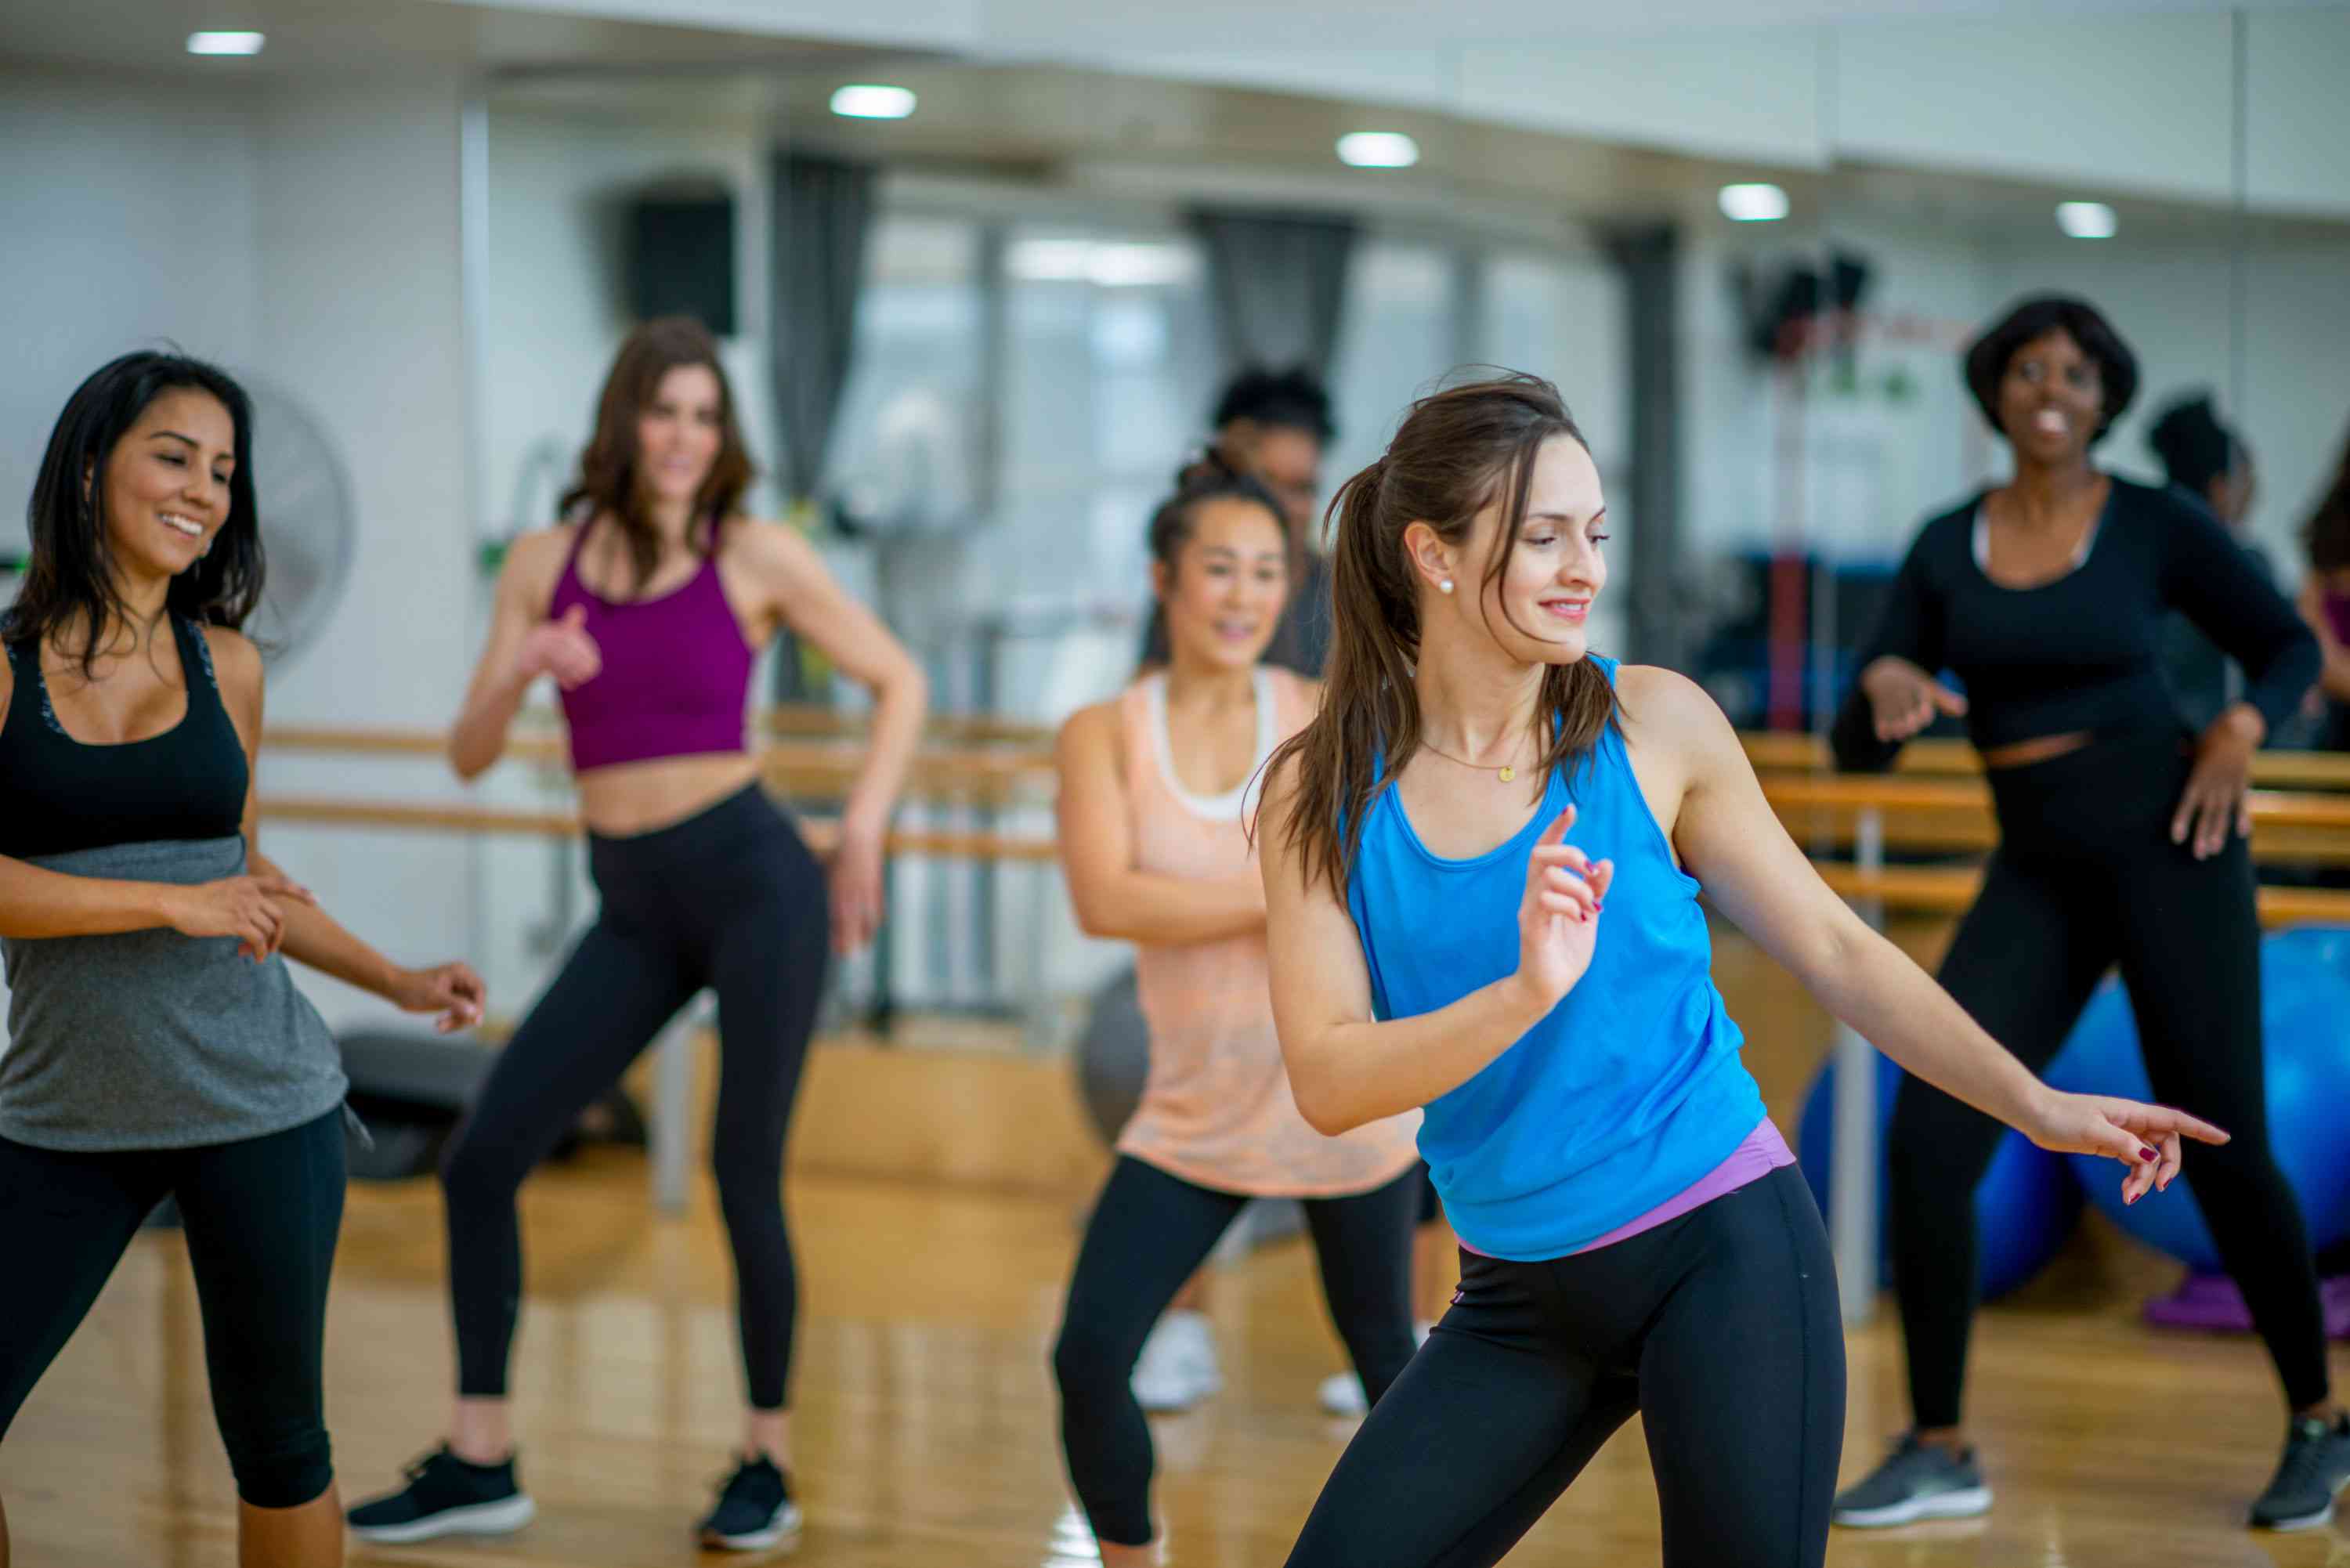
5. Zumba dance

Zumba is beneficial for heart health, improves coordination, tones your entire body, and may help relieve stress. If you like to dance, Zumba is a fun choice for an aerobic workout. After warming up, your Zumba video will instruct you through easy-to-follow dance moves set to upbeat music. You’ll finish with a cool down and stretch.

How to Do It:
  1. Open up your smart device tv, mobile phone or computer/laptop
  2. Search for your favorite Zumba Dance on Youtube.
  3. Start dancing!

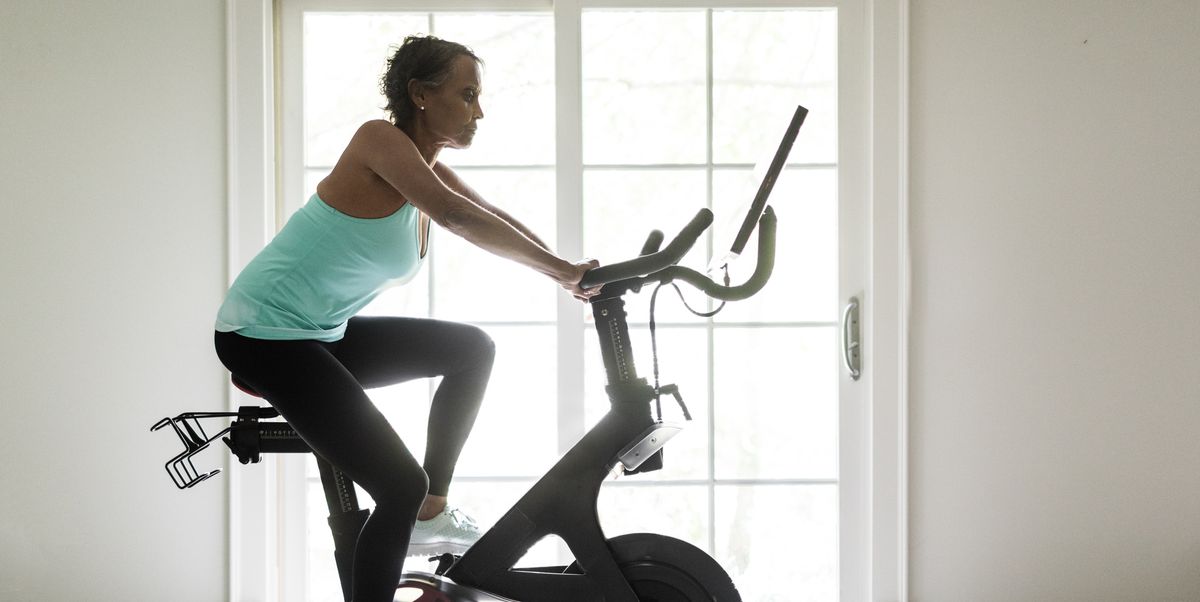
6. Stationary Cycling

Riding a stationary exercise bike is an efficient and effective way to burn calories and body fat while strengthening your heart, lungs, and muscles. Compared to some other types of cardio equipment, a stationary bicycle puts less stress on your joints, but it still provides an excellent aerobic workout.

With indoor cycling, you don’t have to be concerned about traffic, road conditions, or the elements. You can work out safely at a comfortable temperature any time of the year.

How to Do It:
  1. Start off pedaling at a low intensity for 5-10 minutes
  2. Switch to medium intensity for 5 minutes, followed by:
    • high intensity for 1-2 minutes
    • medium intensity for 5 minutes
    • high intensity for 1-2 minutes
    • medium intensity for 5 minutes
  3. Finish by pedaling at a low intensity for 5 minutes.

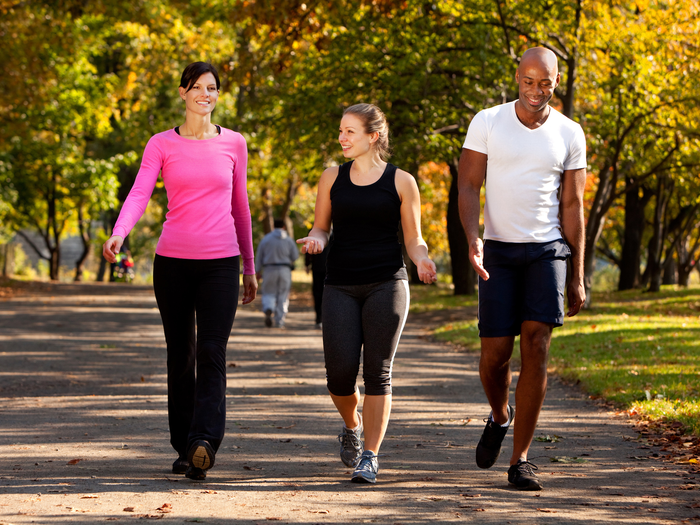
7. Walking? Yes Walking!

Walking may be the simplest way to work out. You can do it almost anywhere, and it’s a snap to get started: Just put one foot in front of the other. There are many great reasons to walk. Your heart will get stronger, you’ll lower your blood pressure, and your bones will get stronger. Walking also eases stress, helps you sleep better, and can boost your outlook on life.

How to Do It:

  1. Outdoors:Yes. You can walk around your neighborhood, on a school track, or through a nature trail. If the weather is bad, try walking in a mall.
  2. At home:Yes.You can walk anywhere. If you have a treadmill, you can even walk indoors.
    • Walk at a brisk pace for 30 minutes or more on most days.
    • Do it alone or with a friend.
    • Try a walking club or recruit your family for an after-dinner walk.
    • All you need is a pair of walking shoes.

Walking is an ideal type of exercise when you're just getting started. You can go as fast or as slow as you need. It’s easy to bump up your pace and go longer distances as you get better.

Breathe
It never ends here

Our magazine is available online, so you can stay up-to-date on the latest health and fitness news anytime, anywhere.